Digital First Dentistry › Scanning implants
Scanning implants: scan bodies, libraries and verification
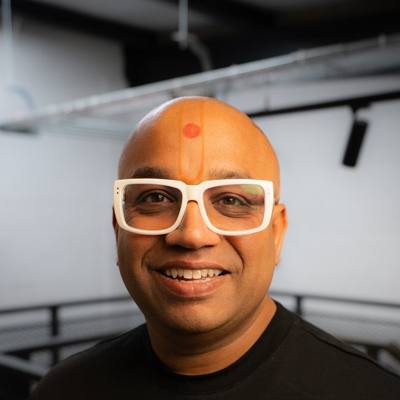 By Dr Bhavin Bhatt BDS MFGDP RCS (Eng) · GDC 76358
Updated November 2026
About this CPD
- Format
- Free online self-study, about 1 hour: this page, the required reading below, a five-question check and a short feedback form.
- CPD hours
- 1 hour of verifiable CPD
- Aim
- To help clinicians record implant positions digitally with predictable fit.
- Objectives
- Explain the role of a scan body and the matching library file.
- Describe correct seating, orientation and checking of scan bodies.
- Explain how to capture the emergence profile and soft tissue.
- Describe when verification is advisable for multi-unit and full-arch cases.
- GDC development outcomes
- C: Maintenance and development of knowledge and skill within your field of practice.
- Provider and quality assurance
- Provided by Bhavin Associates Ltd (company 07713563). Quality assured by Dr Bhavin Bhatt BDS MFGDP RCS (Eng), GDC 76358, for Bhavin Associates Ltd. See how CPD is quality assured.
How it works
A scan body screws onto the implant or abutment and gives the scanner a shape it can recognise. The design software matches the scanned surface to a library file for that exact scan body and implant system, which tells it where the implant sits. The right scan body and the right library are essential.
Seat and check
- Use a scan body compatible with the implant system and platform, and confirm the library file with your laboratory.
- Seat it fully and tighten as the manufacturer instructs; a radiograph can confirm seating when in doubt.
- Do not reuse beyond the manufacturer's instructions; damaged or worn scan bodies cause error.
- Scan the scan body in full, without blood or saliva on its surfaces.
Soft tissue and emergence
Capture the soft-tissue profile before placing the scan body if the tissue collapses quickly, or scan a customised healing abutment. The laboratory needs this to design the emergence profile.
Multi-unit and full-arch
Errors can build up across a full arch. Many teams use a verification jig, a printed or milled try-in, or intraoral photogrammetry to confirm implant positions before final manufacture. Follow the evidence and your laboratory's protocol.
Records
Record implant system, platform, scan body and library used, torque values and any verification steps.
Required reading
Read these short pages as part of this CPD:
Doing this as a team? Send it to your nurses and hygienists: WhatsApp · Email
Check your learning
Answer all five questions. You need four correct to continue. You can try again.
Feedback and certificate
Your feedback is part of quality control and is required before your certificate is issued. Your name and GDC number appear on the certificate. We keep your feedback and details to manage CPD records; see the privacy notice.
Your certificate
Thank you. Your certificate is ready.
Keep it with your CPD record and personal development plan, and note which development outcomes it meets.
Share it: Post on LinkedIn · Send on WhatsApp
Recording occlusion digitally →
Get the white paper and the starter guide
Free. Enter your email and both open straight away.