Digital First Dentistry › Digital workflows
Digital workflows: from scan to laboratory, printed restorations and implants
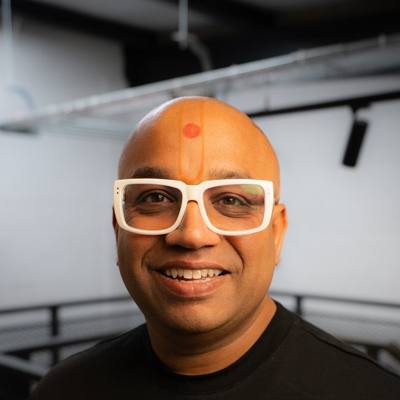 By Dr Bhavin Bhatt BDS MFGDP RCS (Eng) · GDC 76358
Updated November 2026
About this CPD
- Format
- Free online self-study, about 1 hour: this page, the required reading below, a five-question check and a short feedback form.
- CPD hours
- 1 hour of verifiable CPD
- Aim
- To help dental professionals use digital impressions, laboratory communication, chairside printing and digital implant impressions safely and predictably.
- Objectives
- List what a laboratory needs with a digital impression to reduce remakes.
- Describe the regulatory points when working with a laboratory or printing restorations in practice.
- Identify where chairside printed restorations are and are not appropriate, and what patients should be told.
- Describe the key steps of a digital implant impression with a scan body, and when to add a verification step.
- GDC development outcomes
- C: Maintenance and development of knowledge and skill within your field of practice.
- D: Maintenance of skills, behaviours and attitudes which maintain patient confidence in you and the dental professions and put patients’ interests first.
- Provider and quality assurance
- Provided by Bhavin Associates Ltd (company 07713563). Quality assured by Dr Bhavin Bhatt BDS MFGDP RCS (Eng), GDC 76358, for Bhavin Associates Ltd. See how CPD is quality assured.
Scan to laboratory
A digital impression removes the tray and the risk of a distorted impression. It does not remove the need for clear communication. Most remakes still come from missing information rather than from the scanner.
- Margins: check every margin on screen. It should be visible and continuous; retract and rescan where it is not.
- Both arches and the bite: scan both, and check the bite record before the patient leaves.
- A full written prescription: material, design, contacts, occlusion and any special instructions.
- Shade: photographs with a shade tab in view help where appearance matters.
Working with a laboratory
Confirm that the laboratory accepts the file types your scanner exports, agree turnaround and remake terms, and ask for feedback on your first scans. In the UK, custom-made dental devices fall under medical device regulation: confirm that the laboratory is registered with the MHRA and that each case comes with a statement of manufacture.
Chairside printing
Chairside printing can let a patient leave with a definitive restoration on the day it is planned. It works when used for the right cases and when the process is followed exactly.
- Appropriate: single-unit crowns, onlays, inlays and veneers within the material's stated indications, and planned quadrant work.
- Take care: multi-unit bridges and heavy load (many printing resins are not indicated), high aesthetic demand, and the fact that long-term survival data for printed definitive restorations is still building. Tell patients so, and record it in the consent.
- The process decides success: accurate scan, design within the material's minimum thickness, a validated printer and material combination, washing and curing exactly as the manufacturer specifies, bonding to protocol, and review at the next check-up with a new scan to compare.
A practice that designs and makes custom-made restorations in-house takes on the responsibilities of a custom-made device manufacturer. In the UK that includes registration with the MHRA and providing a statement of manufacture. Check the current MHRA guidance before starting.
Digital implant impressions
A scan body and a few minutes of scanning replace the impression coping and tray. The details decide whether the crown fits first time.
- Confirm the implant system, connection and platform from the records, and use the matching scan body; check it is not worn or damaged.
- Confirm the laboratory or design software has the matching scan-body library.
- Scan the tissue with the healing abutment in place if a record is wanted, then remove it and scan the emergence profile straight away.
- Seat the scan body fully and hand-tighten it; take a radiograph to confirm seating where the connection is below the gum.
- Scan the scan body from every side without moving it, then the opposing arch and the bite.
For several implants splinted together, especially across a full arch, the accuracy of intraoral scanning over the whole arch is still debated. Many clinicians add a verification step, such as a verification jig or a try-in, before the definitive prosthesis is made.
Required reading
Read these short pages as part of this CPD:
Doing this as a team? Send it to your nurses and hygienists: WhatsApp · Email
Check your learning
Answer all five questions. You need four correct to continue. You can try again.
Feedback and certificate
Your feedback is part of quality control and is required before your certificate is issued. Your name and GDC number appear on the certificate. We keep your feedback and details to manage CPD records; see the privacy notice.
Your certificate
Thank you. Your certificate is ready.
Keep it with your CPD record and personal development plan, and note which development outcomes it meets.
Share it: Post on LinkedIn · Send on WhatsApp
Radiography and radiation protection: justifying CBCT in general practice →
Get the white paper and the starter guide
Free. Enter your email and both open straight away.